How to add your own Google Font to your landing pages in Constant Contact
Adding a custom font to your landing pages is important in communicating your brand identity to your audience. In this guide we show you how to do itConstant Contact landing pages allow you to choose between six fonts by default:
- Arial
- Georgia
- Impact
- Tahoma
- Times New Roman
- Verdana
That’s not great if you are looking to stand out from the crowd and want to implement the font your brand manager and marketing team spent months choosing.
Fortunately, you can get the font you want for your landing pages in Constant Contact by adding a Google Font.
Here’s how:
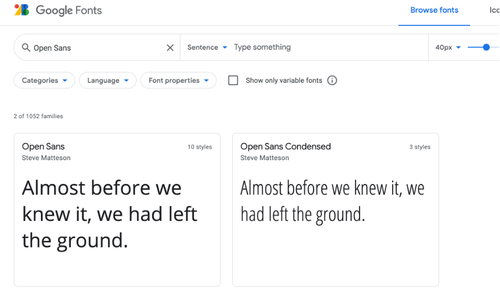
The first thing you need to do is select your font from fonts.google.com.
You can search for a font by name or use one of their filters to help choose one.
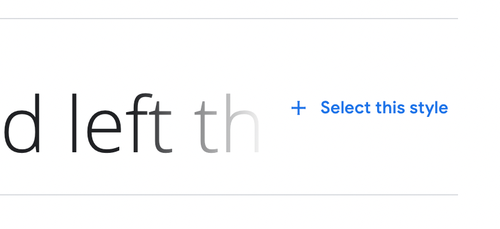
When you have selected the font you want, you need to choose the style by clicking on + Select this style.
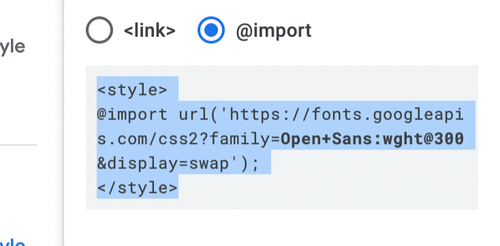
You then need to select @import and copy the contents of the <style></style> tags
Go back to your landing page and select Edit Code.
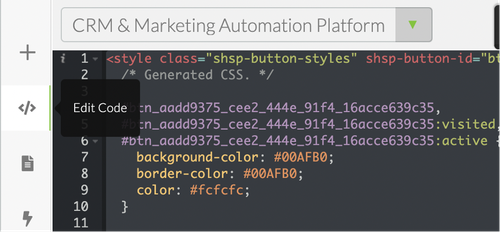
Then select the Head section of your page.
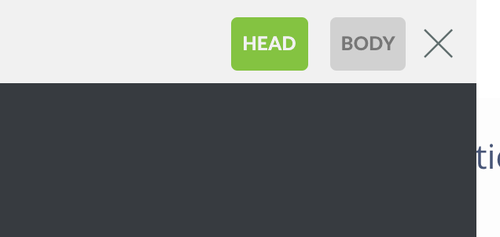
And paste the code.

Next, return to fonts.google.com and copy the CSS rules to specify families
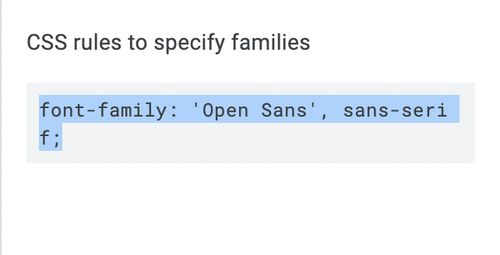
Return to the head of your code in Constant Contact and paste the code above the closing </style> tag.

When you have done that you will need to specify the Headings and Paragraph tags that the new font relates to.
For example, if you want your font to show for H1 tag, then you need to add the following to your code:
h1 {
font-family: 'Open Sans', sans-serif;
}
If you also want your H2 tag to be the same font, you would do the same underneath but with h2 instead of h1
h2 {
font-family: 'Open Sans', sans-serif;
}
If you want to add the font to all of your headings and paragraph, it would look like this:
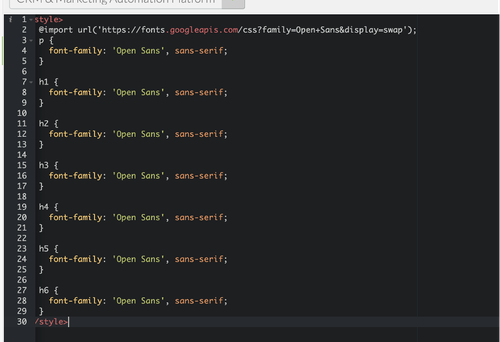
Once you have done that, click Save & Close and your new font will now be displayed on the text of your landing page.
If you would like to find out how to add two or more different fonts to your landing page, take a look at the how to video on our YouTube channel.
If you need help getting the most out of Constant Contact, visit our Constant Contact Hub to find out how we can help.

Case Study: PrimeStox
How we helped PrimeStox treble registrations while reducing spend in just two months.
Related Reading

Blog: How to Get More From the CRM You’re Already Using
by Darren Coleshill, 2 minute read

Blog: The Best Times to Post on Social Media in the UK (B2C Guide)
by Darren Coleshill, 3 minute read